
- Malzeme Hazırlığı
🍝 Chicken Ravioli (Tavuklu Ravioli) Tarifi
-
Hamur için: Un, su, tuz ve yumurta bir kapta karıştırılır (video altyazısında "pasta dough" olarak belirtiliyor).
-
İç Harç için: İnceltilmiş közlenmiş tavuk veya önceden pişirilmiş tavuk eti küçük parçalar halinde doğranır.
-
Baharatlar: Tuz, karabiber, isteğe bağlı olarak rendelenmiş parmesan ve ince doğranmış maydanoz eklenir.
-
Su Hazırlığı: Raviolileri pişirmek için geniş bir tencerede bol su kaynatılır.
-
- Hamurun Hazırlanması
-
Yoğurma: Tüm hamur malzemeleri pürüzsüz bir kıvam alana kadar yoğrulur.
-
Dinlendirme: Hamur streç film ile sarılarak yaklaşık 20–30 dakika dinlendirilir, böylece elastikleşir.
-
- İç Harcın Hazırlanması
-
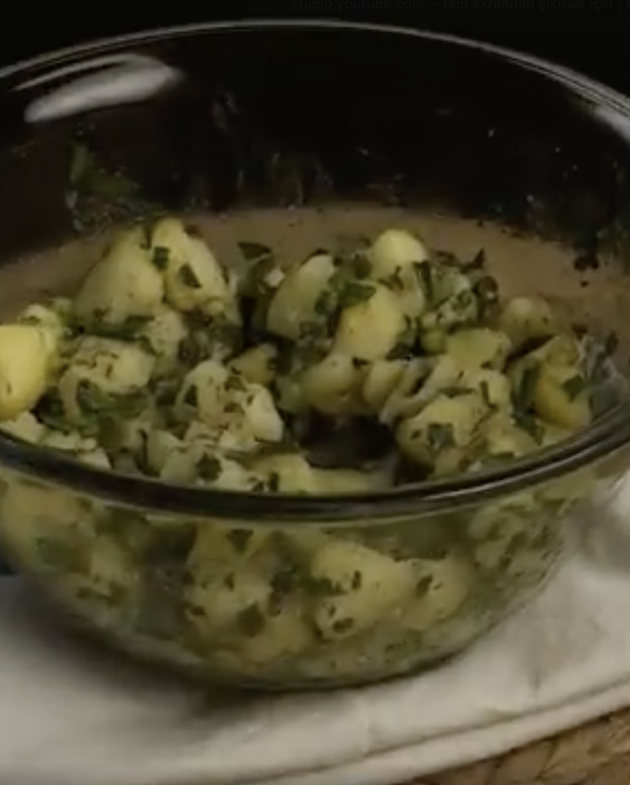
Karıştırma: Tavuk, parmesan, maydanoz, tuz ve karabiber iyice karıştırılarak homojen bir harç elde edilir. Altyazıda "flavor-packed filling" olarak tanımlanıyor.
-
- Raviolilerin Hazırlanması
-
Hamurun Açılması: Dinlenen hamur, çok ince olacak şekilde merdane veya makineyle açılır.
-
Dilimleme: Açılan hamur, kare ya da yuvarlak şekilde kesilmek üzere hazırlanır.
-
Harç Yerleştirme: Her hamur parçasının ortasına bir çay kaşığı kadar tavuk harcı yerleştirilir.
-
Kapama: İkinci bir hamur parçasıyla örtülür, kenarları suyla ıslatılarak sıkıca bastırılır; tortes kapatma işlemi tamamlanır.
-
- Pişirme
-
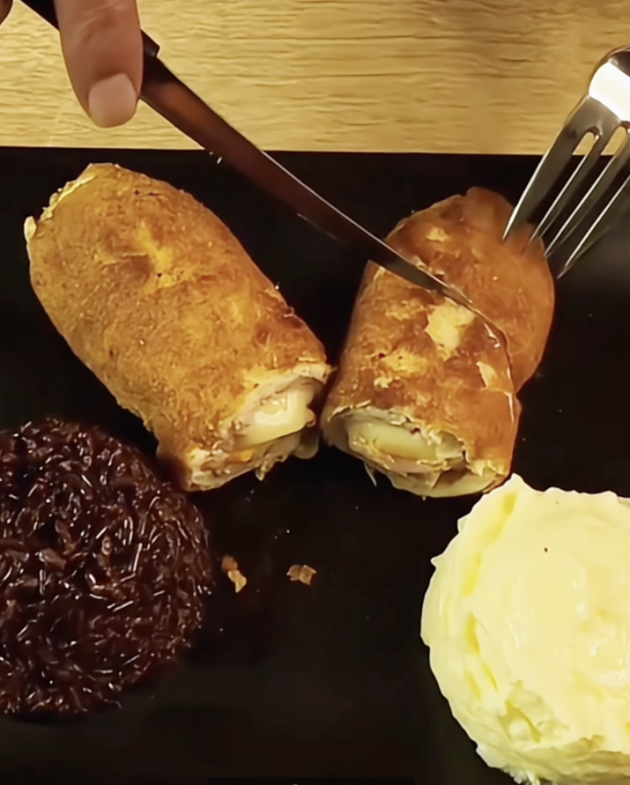
Kaynar Suda Pişirme: Ravioliler kaynayan tuzlu suya bırakılır. Altyazıda "once they float, they’re done" vurgulanıyor—riket göründüklerinde pişmiş demektir.
-
Süzme: Ravioliler bir kevgirle dikkatlice sudan alınır.
-
- Sos ve Servis
-
Sos Hazırlığı: Tereyağı bir tavada eritilir, üzerine birkaç yaprak taze adaçayı veya maydanoz eklenir. Alternatif olarak, hafif bir domates sosu da tercih edilebilir.
-
Sunum: Pişen ravioliler sıcak olarak tabağa alınır, üzerine hazırlanan sos dökülür.
-
Üzeri için: Dilerseniz ekstra parmesan veya taze çekilmiş karabiber serpilerek servis yapılır.
-
Hadi Yapalım
Video

0 Yorum
This recipe was a hit at our weekend barbecue! The chicken was so tender and flavorful, and the marinade had just the right amount of spice. The bell peppers and onions added a nice crunch. Everyone loved it, and I’ll definitely be making this again!
5 out of 5
I tried these skewers last night, and they turned out amazing! The marinade infused the chicken with incredible flavor, and the grilling gave it a perfect char. Served them with tzatziki and pita bread – absolutely delicious!
5 out of 5
I completely agree! I made these skewers for dinner last weekend, and they were such a hit. The marinade really brings out the best flavors, and the tzatziki pairing was perfect. This recipe is definitely going into my regular rotation!
4 out of 5
Same here! The flavors from the marinade were fantastic, and the grilling gave the chicken that delicious charred taste. I served mine with warm pita and a fresh cucumber salad – it was a winner. Can’t wait to make them again!
5 out of 5
These grilled chicken skewers were easy to make and tasted fantastic. The lemon and garlic marinade really made the flavors pop. I loved how juicy the chicken was, and the veggies added great texture. My whole family enjoyed them!
5 out of 5
I’m always looking for new grilling recipes, and this one did not disappoint! The marinade was so flavorful, and the chicken came out juicy and perfectly cooked. A perfect dish for summer cookouts. Highly recommend trying this recipe!
5 out of 5
This recipe was simple to follow and yielded such delicious results. The chicken was moist, and the marinade gave it a nice kick without being too spicy. Paired it with a fresh salad, and it made for a perfect meal. Five stars!
4 out of 5
The recipe was good, but it didn’t quite wow me. The marinade had nice flavors, but I found the spice level a bit too mild for my taste. The chicken was tender, but the vegetables could have been more charred. It’s a decent dish, but I might tweak the seasoning next time to give it more punch.
5 out of 5